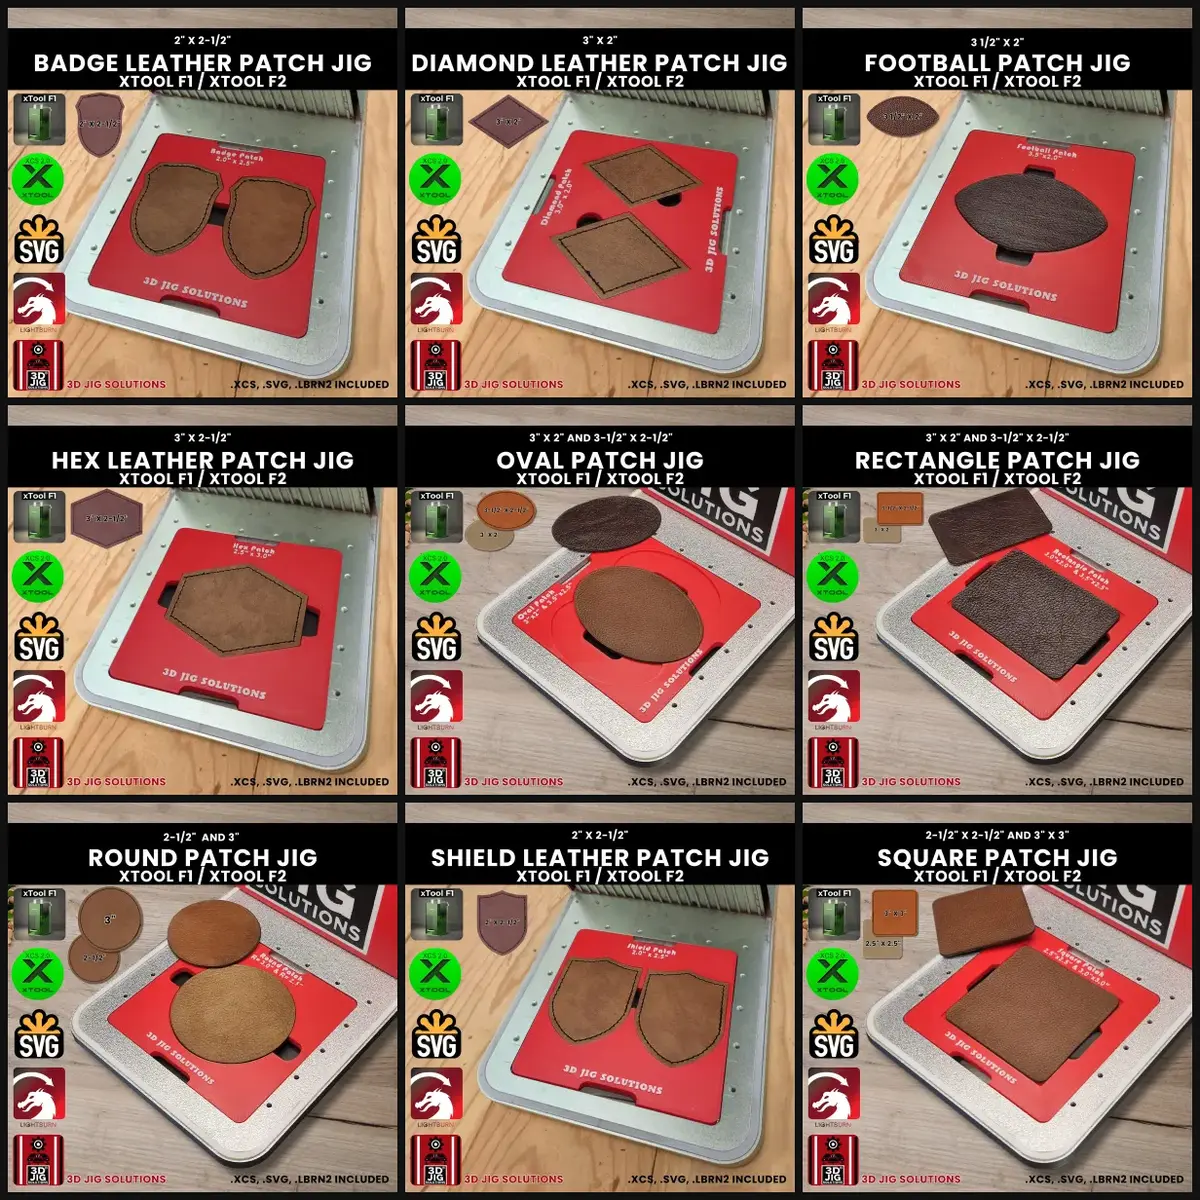
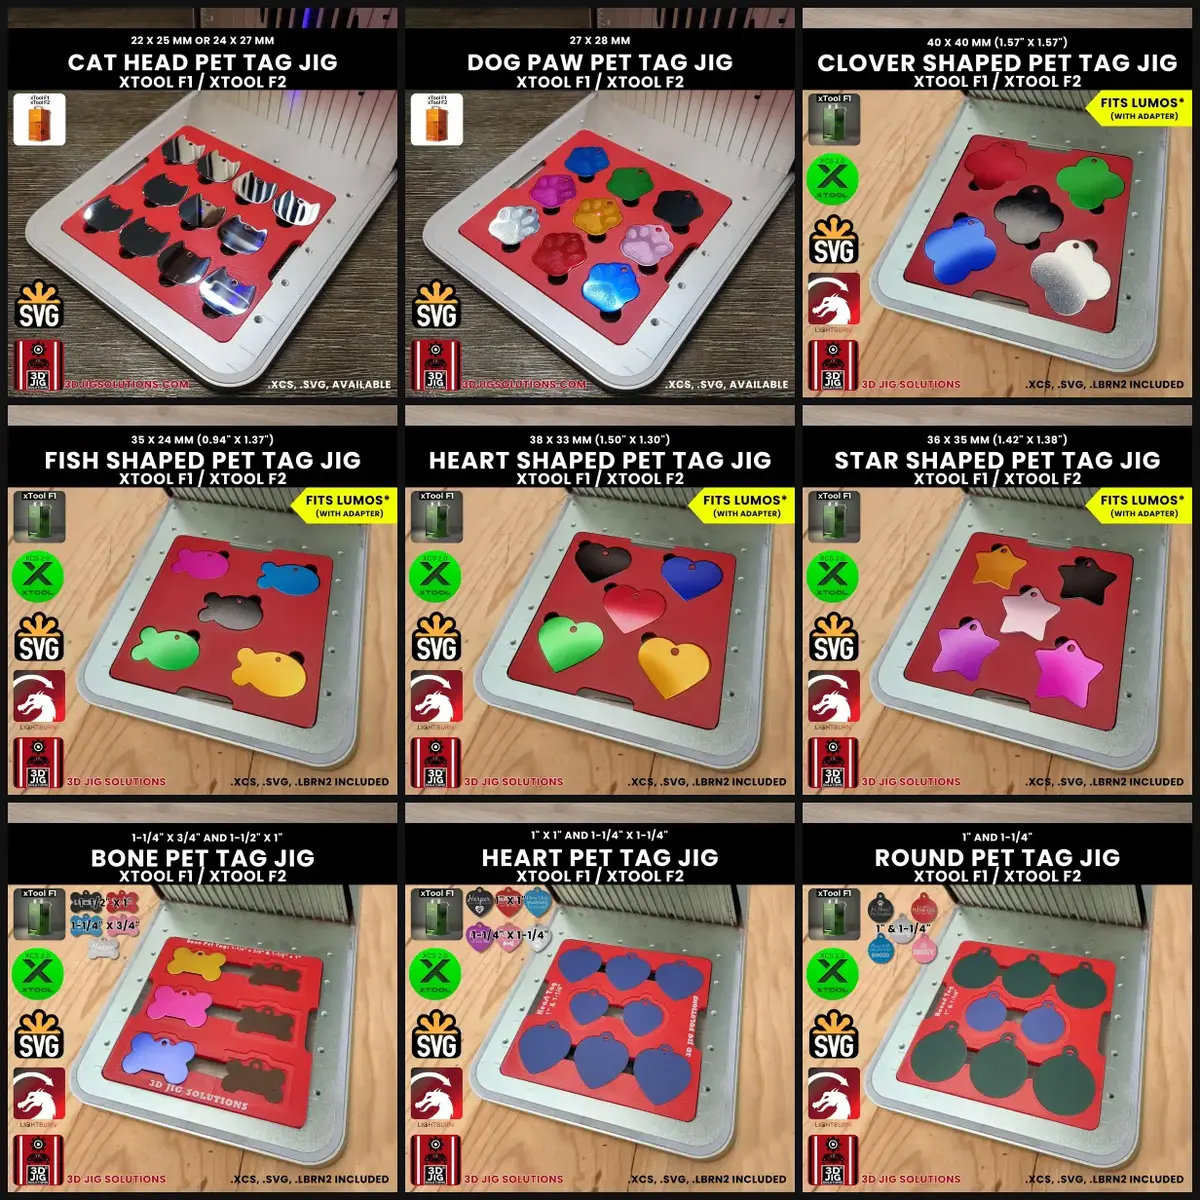
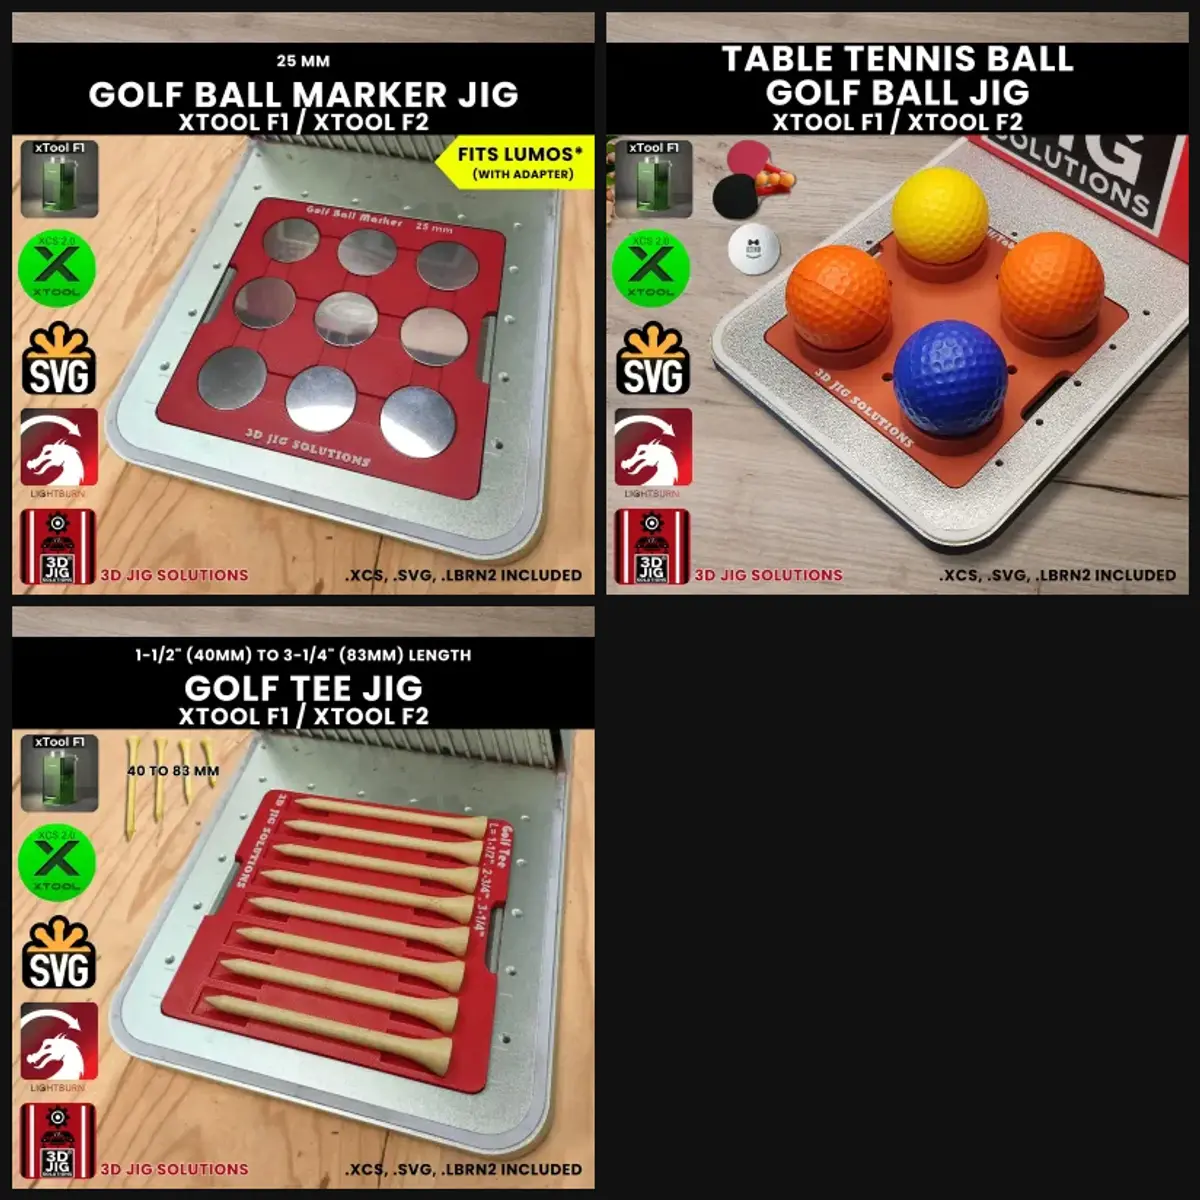
If you’ve ever engraved twenty pet tags one at a time, nudging each one into place and running a test frame before every job, you already know the problem a jig solves. A laser engraving jig holds your blanks in exactly the same spot every time, so your design lands where it should on the first try.
This guide explains what a jig is, how it works with template files, and what to look for when you choose one.
What is a laser engraving jig?
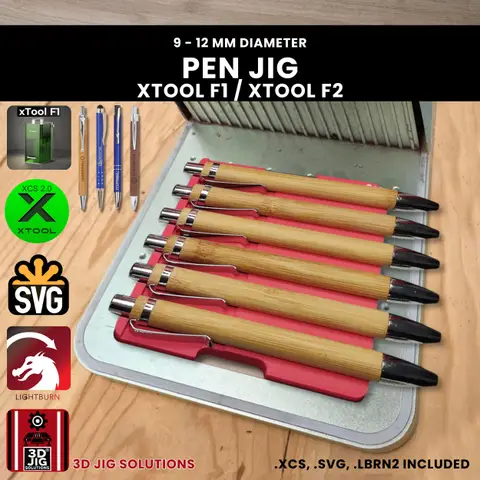
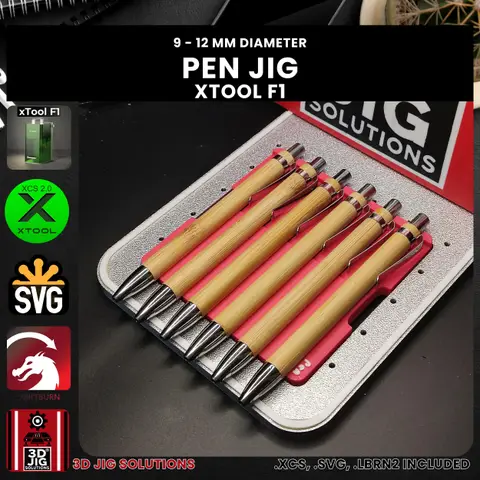
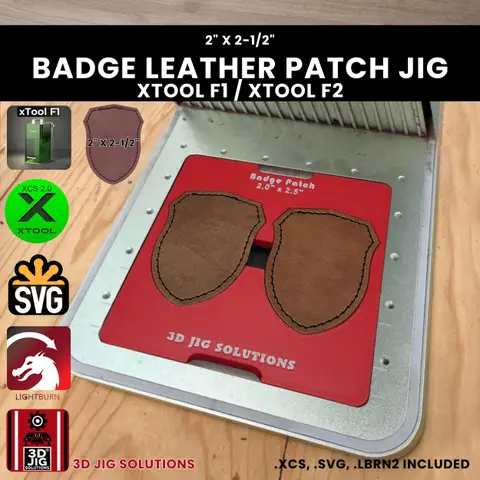
A jig (also called a fixture or alignment template) is a tray with pockets shaped to fit a specific item: pet tags, pens, business cards, hat patches, golf balls and so on. You place the jig on your laser’s bed or baseplate, drop your blanks into the pockets, and engrave.
The jig itself doesn’t do anything clever. What matters is that it sits in a fixed position on your machine, and each pocket is in a known position on the jig. Your laser software then knows exactly where every blank is.
Our jigs are 3D printed for a specific laser and a specific blank size, so they drop into the machine’s baseplate or bed without any adjustment.
Why use a jig?
Every engraving lines up. Text is centred and straight on every piece, not just the one you carefully positioned.
Batch engraving. Many jigs hold several items at once. Load a full jig, start one job, and engrave the whole batch while you prepare the next one.
Less waste. Misaligned engravings are the most common reason blanks end up in the bin. A jig removes most of the guesswork, which matters when blanks cost a dollar or more each.
Repeat orders are quick. Save the project file once. Next time someone orders the same item, open the file, load the jig and press start.
| Without a jig | With a jig |
|---|---|
| Position each blank by eye | Blanks drop into pockets |
| Frame or test before every piece | Check the frame once per batch |
| One item per job | A full batch per job |
| Uneven results across a batch | Matching results across a batch |
How a jig works with template files
Most of our jigs come with a template: an xTool Creative Space (XCS) project file, plus SVG files for LightBurn and other laser software. The template has an outline for every pocket on the jig, in the same position as the pockets on your machine.
A typical run looks like this:
- Fit the jig. Drop it into the baseplate slot or onto the bed. On machines with a quick-swap baseplate, it clicks into the same place every time.
- Open the template. Load the XCS project or import the SVG.
- Add your design. Place your text or artwork inside each outline. Delete or hide the outlines themselves so they don’t get engraved.
- Load your blanks. Put an item in each pocket you’re using.
- Check the frame. Run your laser’s framing or preview once to confirm everything is where you expect.
- Engrave. Let the parts cool, lift them out, and load the next batch.
Steps 1 to 3 only happen once. After that, every batch is just steps 4 to 6.
What to look for in a jig
Made for your exact laser. A jig built for an xTool F1 won’t sit correctly in a ComMarker, and the template won’t match. Start with your machine: xTool F1 and F2, xTool F1 Ultra and F2 Ultra, WeCreat Lumos, ComMarker, Longer Nano Pro, or diode and CO2 lasers.
Made for your exact blank. A pocket that’s too loose lets the item shift. One that’s too tight won’t take it at all. Measure your blanks with calipers and compare them with the sizes listed on the jig’s page.
Template files included. Without a matching template you’re back to lining things up by eye. Check that the jig comes with files for the software you use.
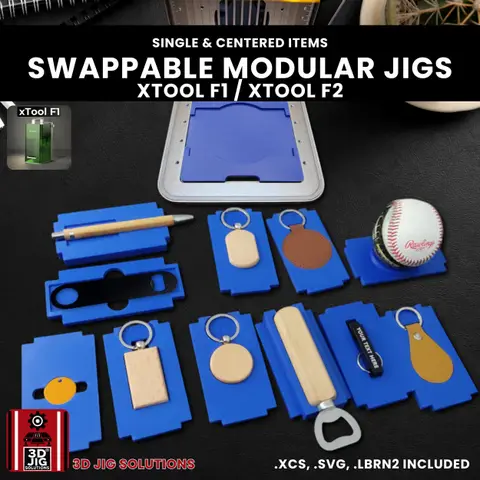
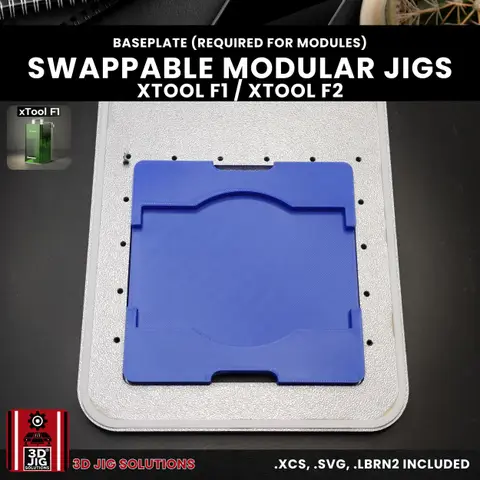
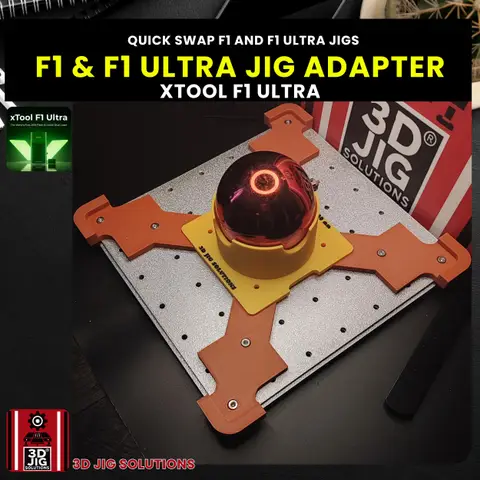
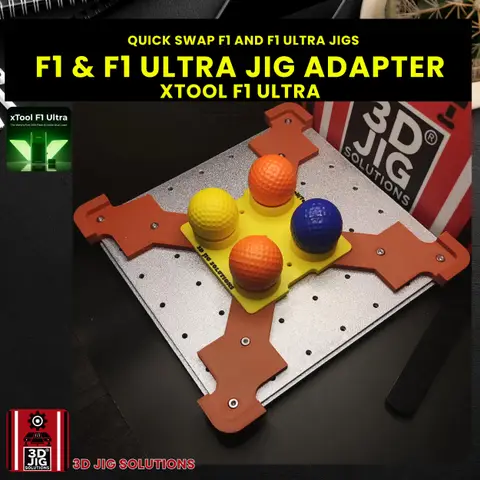
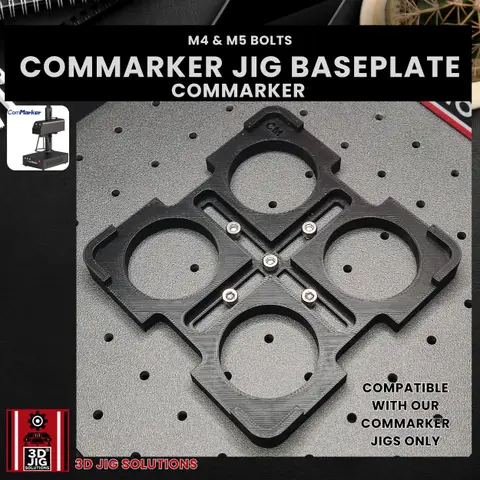
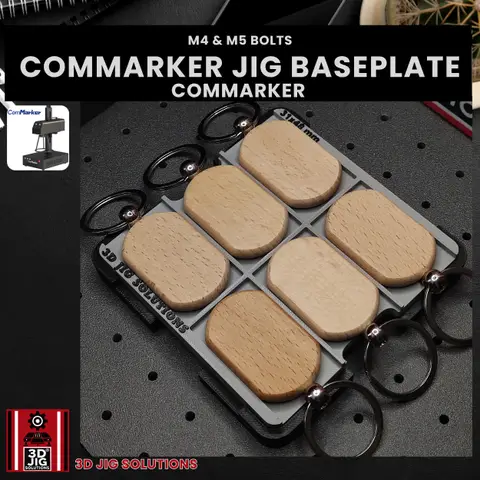
Quick swapping. If you engrave lots of different items, a swapping baseplate saves time. The xTool F1 Ultra adapter and the ComMarker swapping baseplate stay on the machine, and jigs drop in and out. On the xTool F1 and F2, the modular jig system does the same with small single-item modules.
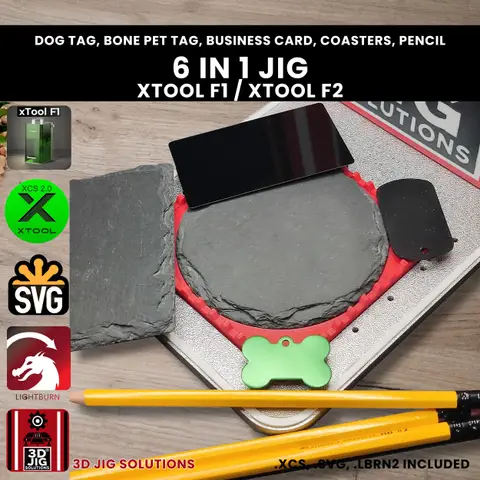
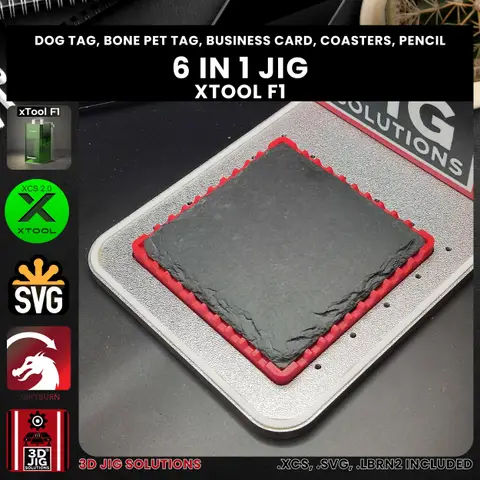
Multi-item jigs. A multi-item jig like the xTool F1 6-in-1 jig has pockets for several popular blanks: pet tags, dog tags, business cards, pencils and coasters. Engrave one item type per run.
Tips for better results
- Keep the beam inside the outlines. The jig is plastic. Your design should stay on the blank.
- Let metal cool. Freshly engraved metal can be hot. Give it a moment before lifting it out of the jig.
- Use the same blanks. Blanks from different suppliers can vary by a millimetre or two. Stick to one supplier for a batch, or check the fit first.
- Save one project per item. Keep a saved file for each jig with your usual settings, so a repeat order takes seconds to set up.
- Fill the jig. You can run a partly filled jig, but engraving a full batch makes the most of each run.
Where to start
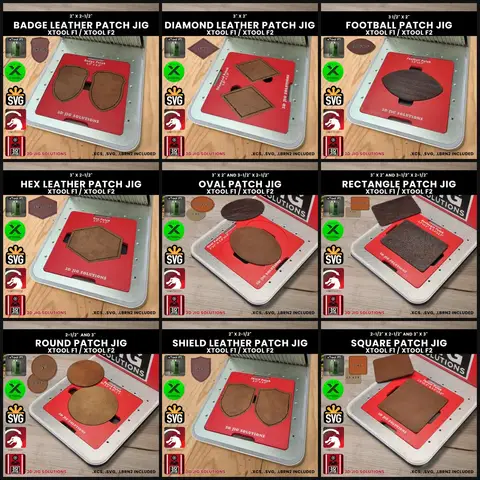
Pick your laser, then pick the items you engrave most often. Pet tags, pens, business cards, keychains and hat patches are the most popular starting points. If you sell several shapes of the same item, a jig set covers them all for less than buying each jig on its own.
Can’t find a jig for your item? We design custom jigs for any blank and most lasers.
Questions and answers
Do I need a different jig for each laser?
Yes. Every laser has a different bed, baseplate and working area, so a jig is made to sit in one exact spot on one machine. That fixed spot is what makes the template line up. We make separate jigs for xTool F1 and F2, F1 Ultra and F2 Ultra, WeCreat Lumos, ComMarker and more.
Can I use a jig with LightBurn instead of xTool Creative Space?
Yes. Most of our jigs come with an XCS project file and SVG files. Import the SVG into LightBurn or any other laser software and place your design inside the outlines.
Will the laser damage a plastic jig?
Not in normal use. The template keeps the beam on your blanks, not the jig. Keep your design inside the outlines, and let metal parts cool before you lift them out, because freshly engraved metal can be hot enough to mark plastic.
What if you don't make a jig for my item?
We design custom jigs. Send us the item size and your laser and we'll quote it.