Custom golf gear makes a popular gift: personalised balls for birthdays and Father’s Day, logo balls and tees for corporate events and tournaments, and engraved ball markers as small gifts. The trouble is that golf items are awkward to engrave. Balls are round and roll, tees are thin and tapered, and markers are small.
A jig solves all three. This guide covers how to engrave golf balls, tees and ball markers consistently, and how to fit more of them into each run.
Golf balls: working with a curved surface
A golf ball is a sphere, so only a small area on top is at the laser’s focus. The further a design reaches from the centre, the more the surface curves away from it.
- Keep designs compact. Initials, a short name or a small logo work best. A design that spreads too wide can look lighter or softer towards the edges.
- Centre the design on the top of the ball. A jig holds every ball with its top in the same spot, so the template puts each design right where the ball is highest.
- Mind the dimples. Bold, simple shapes read better across dimples than fine lines and small text.
- Check your laser’s options. Some machines offer a curved-surface or 3D mode for round items. Check your machine’s documentation.
- Test each new brand. Covers differ between brands and models, and so does the result. Engrave a spare ball before running an order.
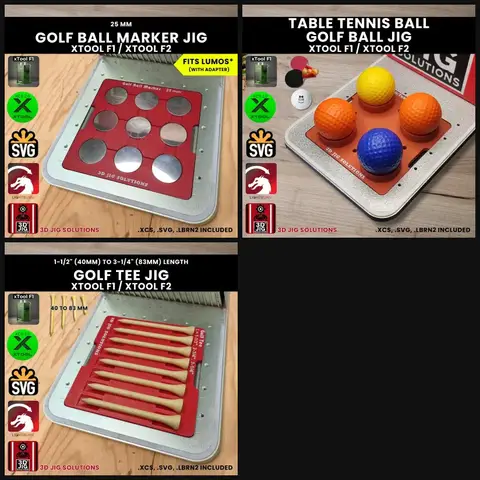
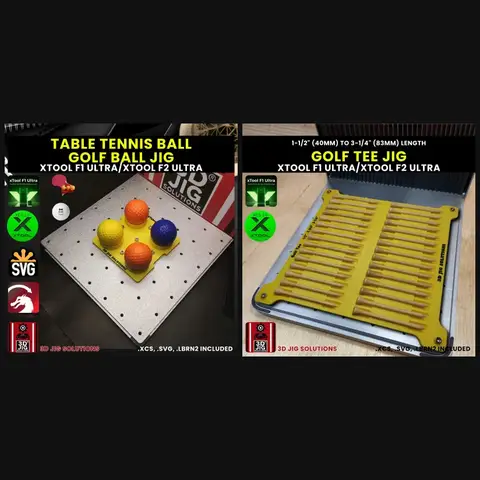
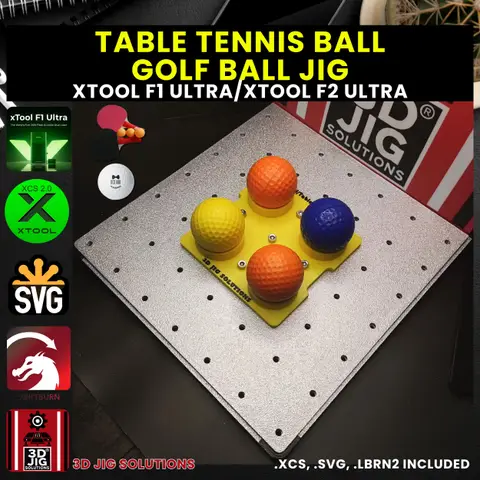
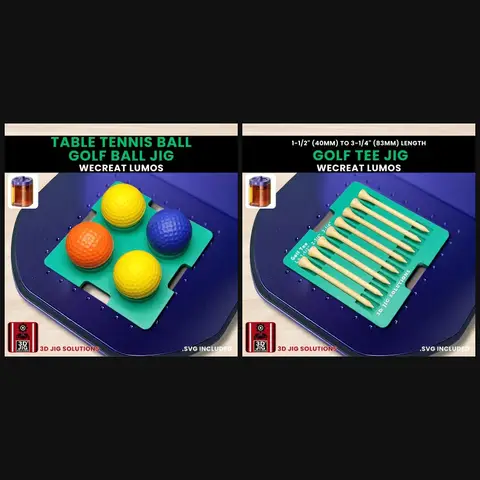
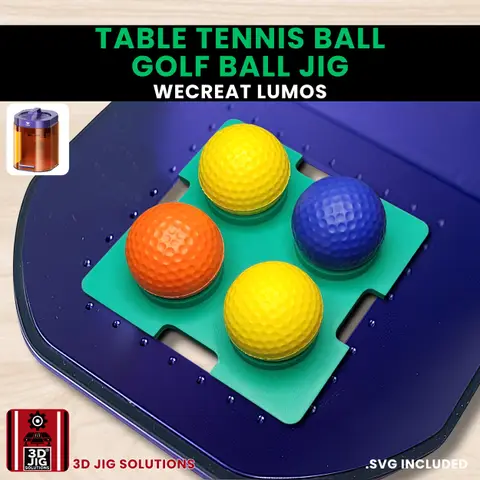
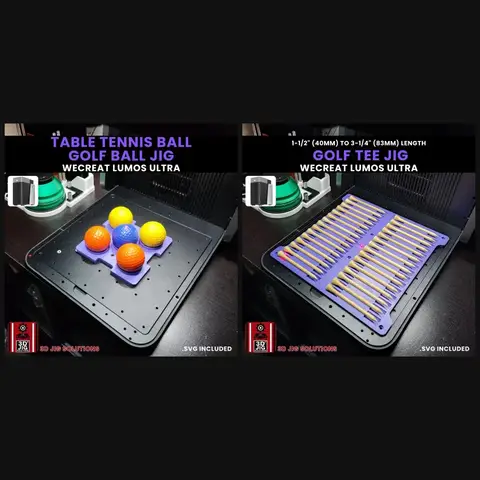
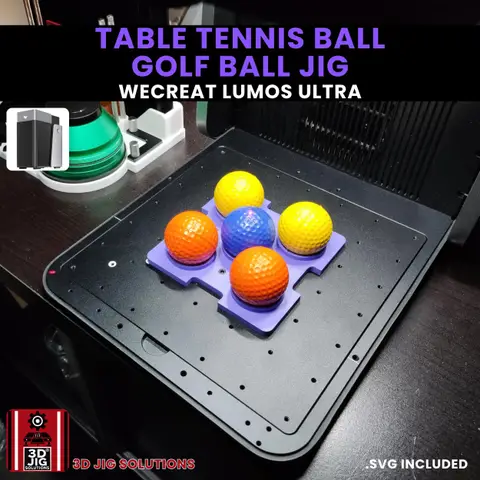
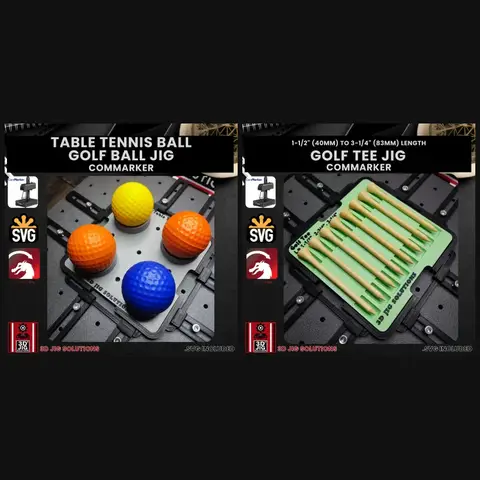
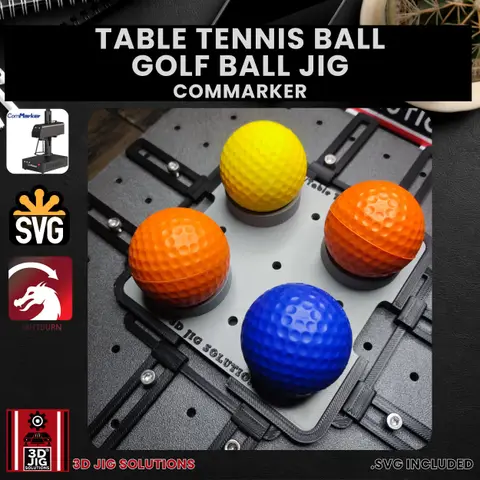
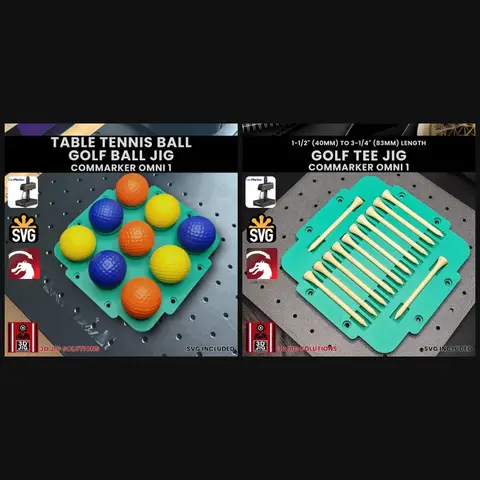
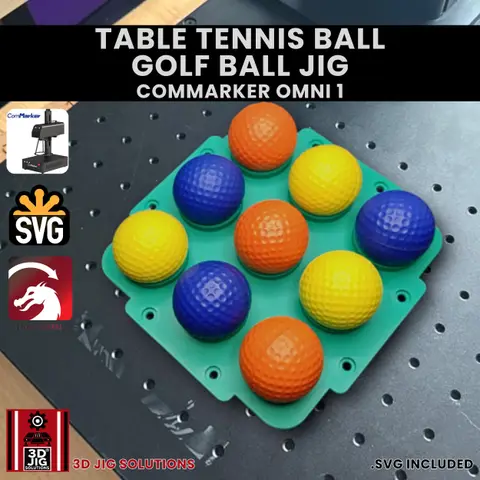
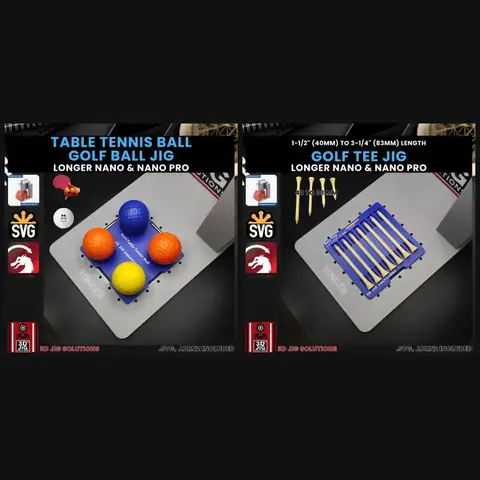
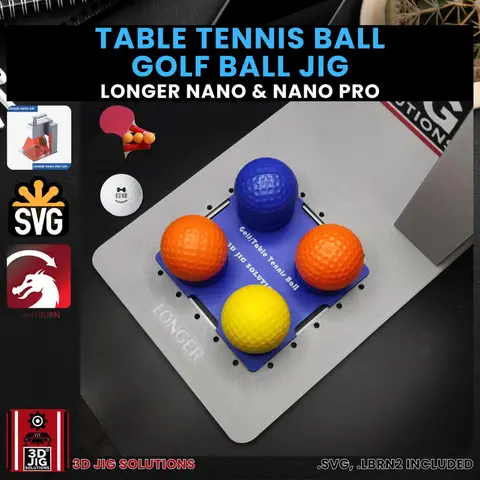
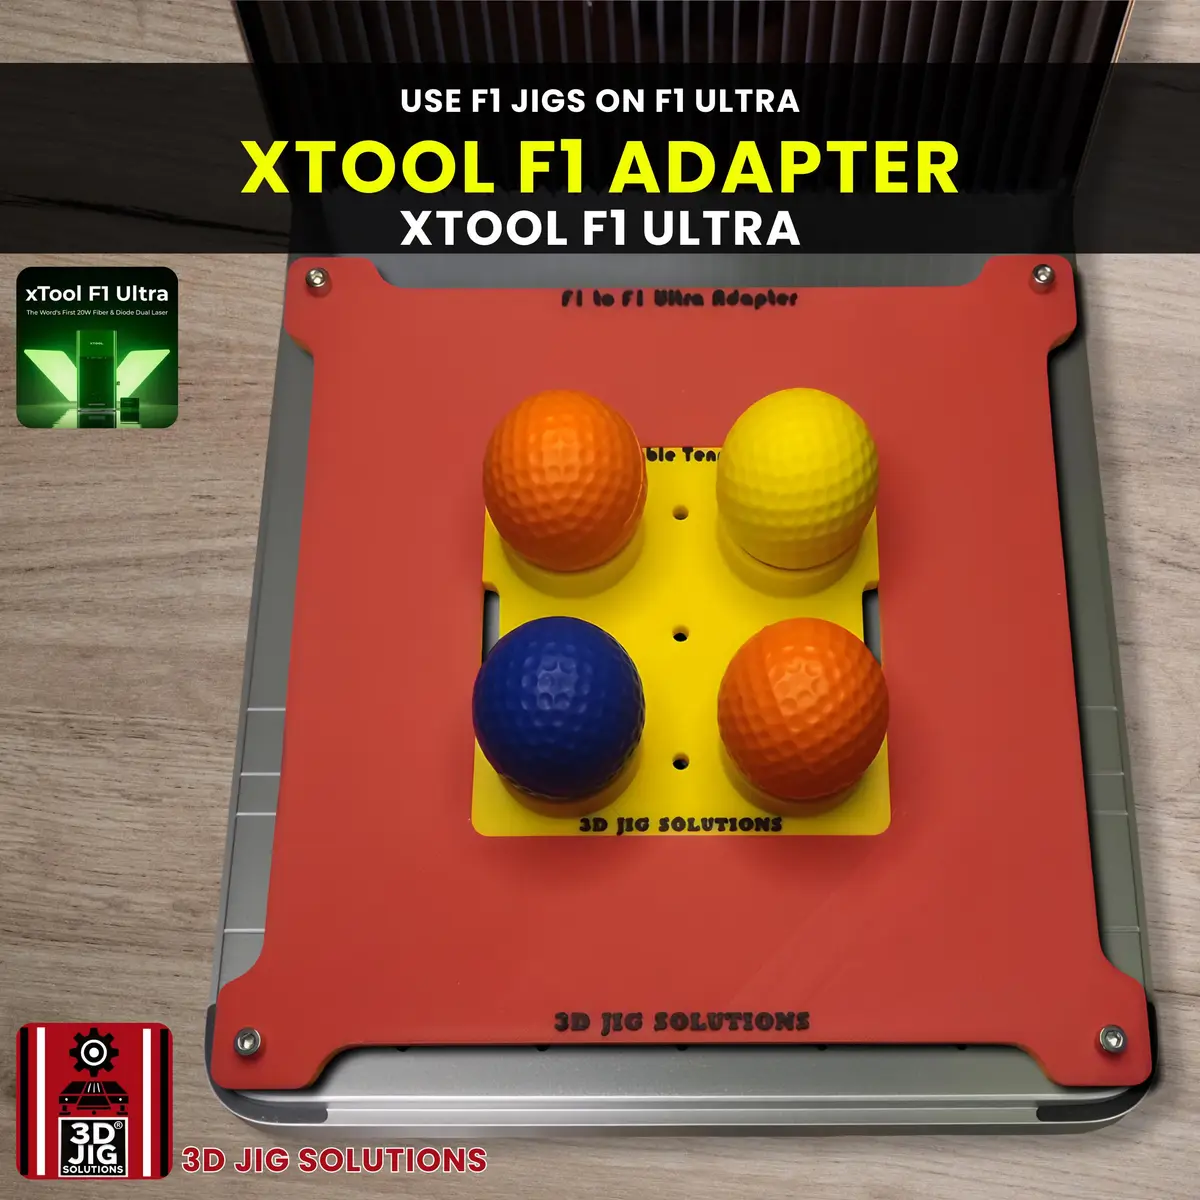
Holding balls steady. On a flat bed a ball rolls at the slightest touch. Our golf ball jigs hold standard golf balls in fixed cups, centred and still, and they hold ping pong balls too.
Golf tees: thin, tapered and many sizes
Tees are a good batch item: cheap, popular for events, and usually ordered in quantity.
- Engrave along the shaft. The shaft is the longest flat-ish area. Keep text short: a name, a date or a small logo.
- Line them up. Tees taper to a point, so they don’t sit level on a flat bed. Our tee jigs hold each tee in its own slot, so every one sits at the same height and angle.
- Any length. Our tee jigs take tees from 1-1/2” (40 mm) to 3-1/4” (83 mm) long, so you can offer short, standard and long tees with the same jig.
- Wood or plastic. Tees come in wood, bamboo and plastic, and each engraves differently. Test the type you’re selling.
Ball markers and hat clips
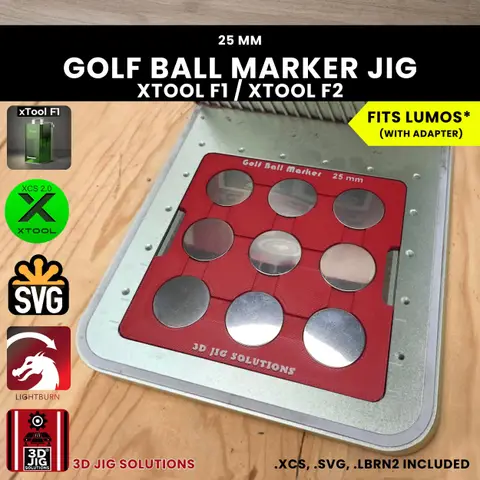
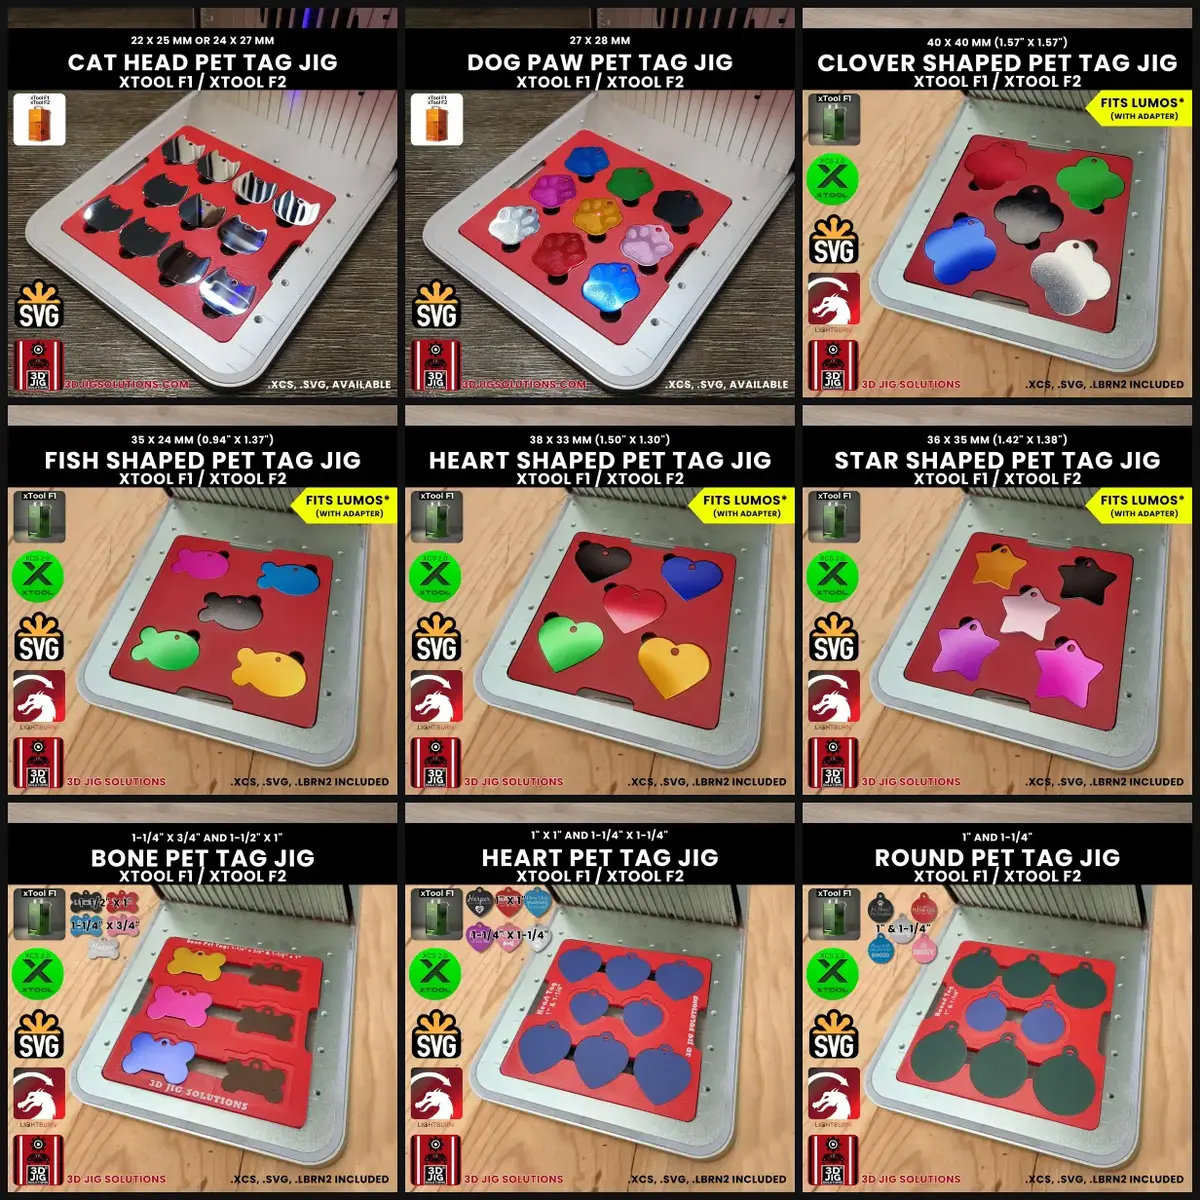
Ball markers are flat metal discs, much like pet tags, which makes them easy to engrave in batches. Our xTool F1 and F2 ball marker jig holds 9 markers 25 mm across per run.
For a matching gift, the xTool F1 and F2 hat clip jig holds 30 x 30 mm hat clips for engraving on the front or back.
Engraving a golf batch, step by step
- Fit the jig. Drop it into your laser’s baseplate slot or quick-swap adapter.
- Open the template. Load the XCS project or import the SVG. The outlines match the cups or slots on the jig.
- Add the designs. Place the name or logo in each outline, then hide the outlines so they don’t engrave.
- Load the items. Seat each ball, tee or marker fully in its spot. Turn balls so the area you want to engrave faces up, away from any printed brand logo.
- Check the frame. Run your laser’s framing or preview once.
- Test, then engrave. Test new balls or tees on a spare first, using your laser’s material settings as a starting point.
- Unload and repeat. The jig stays put, so the next batch lines up the same way.
One jig for all three (xTool F1 Ultra and F2 Ultra)
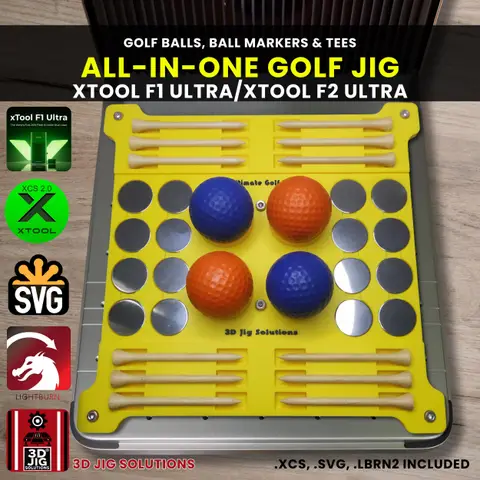
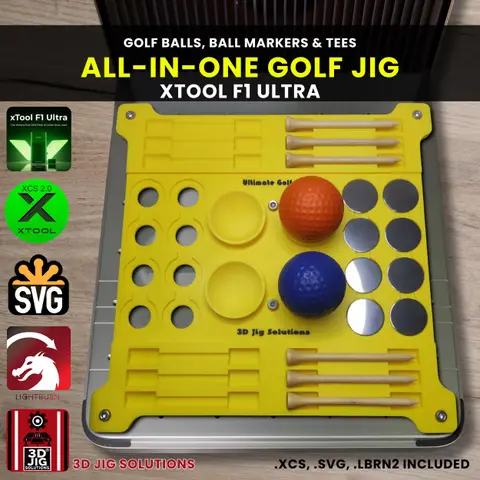
On the xTool F1 Ultra, F2 Ultra and F2 Ultra UV, the all-in-one golf jig holds 4 golf balls, 12 tees and 16 ball markers in one run. It’s built for gift sets: engrave a matching ball, tee and marker for each customer at the same time.
Golf jigs for your laser
Each set includes our golf ball and golf tee jigs for your machine at 15% less than buying them separately:
- xTool F1 and F2: golf jig set with balls, tees and ball markers.
- xTool F1 Ultra, F2 Ultra and F2 Ultra UV: golf jig set, or the all-in-one jig above.
- WeCreat Lumos: golf jig set.
- WeCreat Lumos Ultra: golf jig set.
- ComMarker: golf jig set.
- ComMarker Omni 1: golf jig set, with versions for the 150 mm and 300 mm lens.
- Longer Nano Pro: golf jig set.
- UV printers: golf sets for the xTool O1 Omni and the EufyMake E1 for full-colour printing on balls and tees.
On the xTool F1, F2 and WeCreat Lumos, the modular jig systems also include a golf ball module, if you’d rather swap small single-item modules.
Need a jig for another sports item? We design custom jigs.
Questions and answers
Can I engrave golf balls with a fiber laser?
Yes. Fiber and UV lasers can both mark golf balls. The look of the mark depends on the ball's cover and brand, so engrave a spare ball first and compare a few brands if you can.
What size golf tees fit your tee jigs?
Our tee jigs hold tees from 1-1/2" (40 mm) to 3-1/4" (83 mm) long, which covers the common lengths. Check the jig's page for how many tees it holds on your laser.
Do the golf ball jigs also hold ping pong balls?
Yes. Every golf ball jig we make also holds standard ping pong (table tennis) balls.
What laser settings should I use for golf balls?
We don't publish settings, because they depend on your laser, lens and the ball's cover. Start from your laser's built-in material settings, and test on a spare ball before engraving a customer's order.
Can I print full-colour logos on golf balls instead?
Yes, with a UV printer. We make golf ball and tee jigs for the xTool O1 Omni and EufyMake E1 UV printers.