Pet ID tags are a staple for small laser businesses. The blanks are cheap, the engraving takes seconds, and every pet owner needs one. The hard part is the handling: tiny tags that slide around, text that comes out a little off-centre, and orders that arrive one tag at a time.
This guide covers how to set up for pet tags so every tag comes out straight, and how to engrave a full batch in one run.
Pet tag shapes and sizes
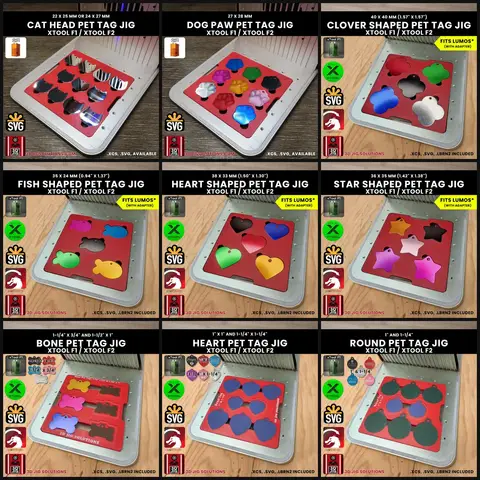
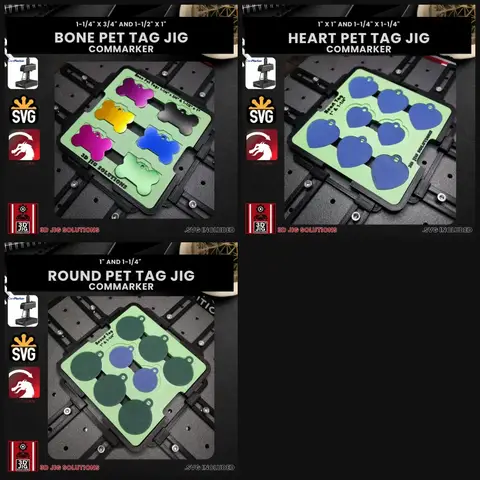
Most pet tag orders use a few standard shapes. These are the sizes our xTool F1 and F2 jigs hold, and how many tags each jig takes per run:
| Shape | Tag size | Tags per run |
|---|---|---|
| Round | 1” or 1-1/4” | 8 |
| Heart | 1” or 1-1/4” | 8 |
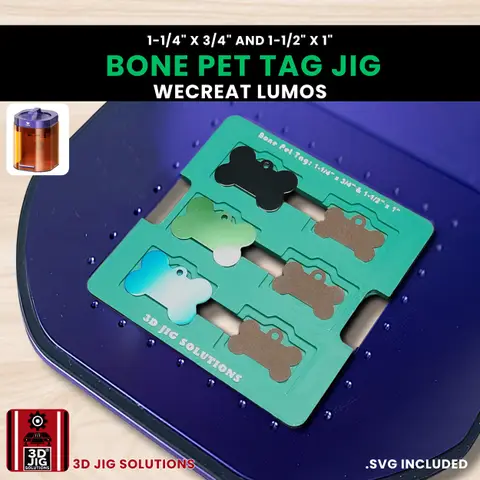
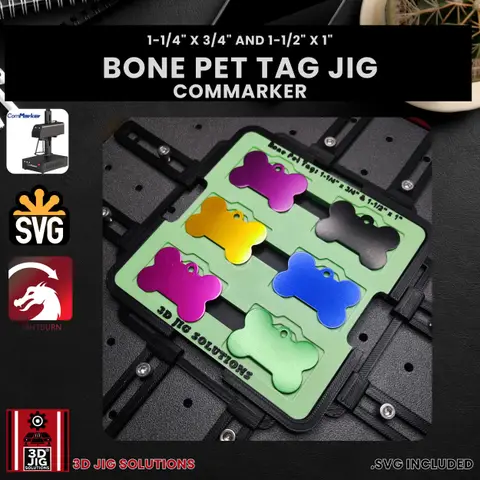
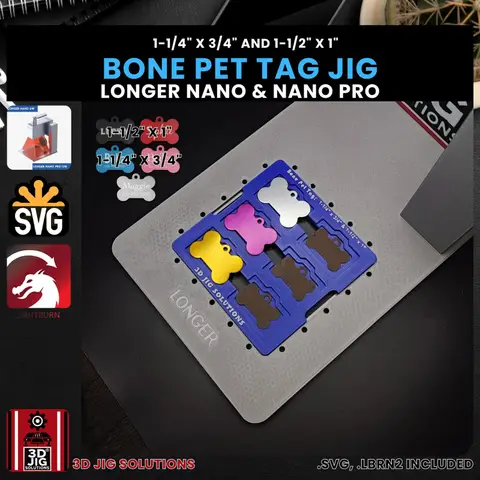
| Bone | 1-1/4” x 3/4” or 1-1/2” x 1” | 6 |
| Star | 36 x 35 mm | 8 |
| Fish | 35 x 24 mm | 8 |
| Large heart | 38 x 33 mm | 5 |
| Clover | 40 x 40 mm | 5 |
| Slide-on collar tag | 43 x 22 mm | 8 |
| Stainless steel dog tag | 43 x 24 mm | 5 |
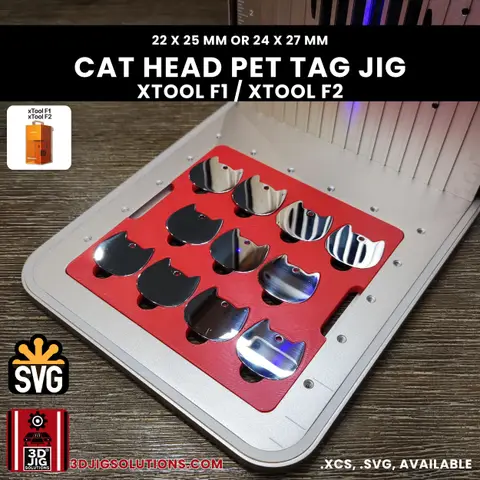
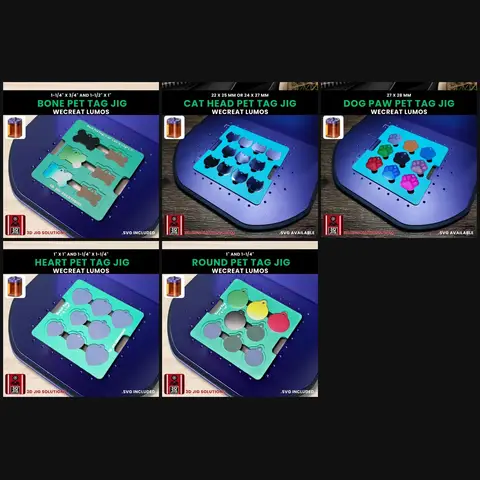
We also make cat head (22 x 25 or 24 x 27 mm), dog paw (27 x 28 mm) and 50 x 30 mm military dog tag jigs. Sizes and counts differ a little between lasers, so check the jig’s page for your machine.
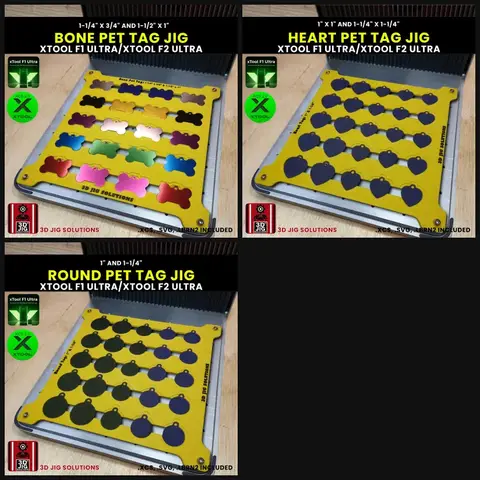
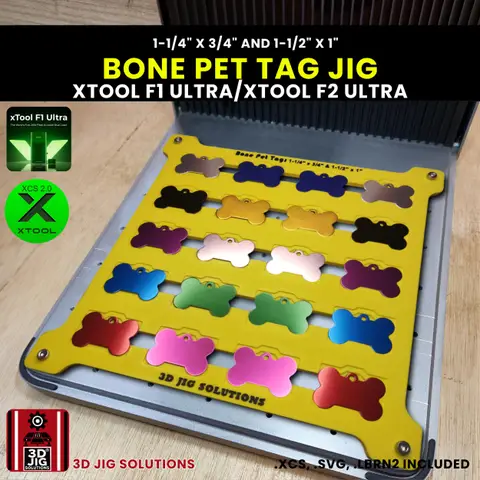
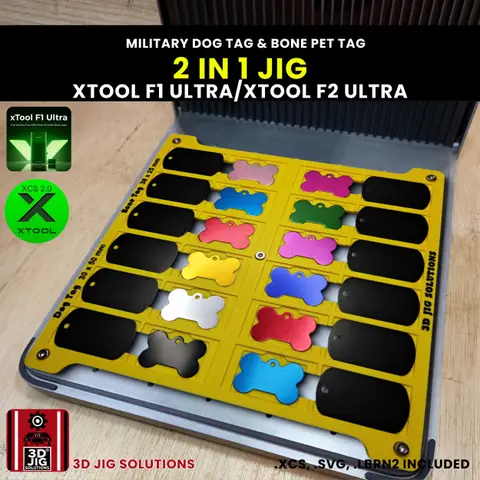
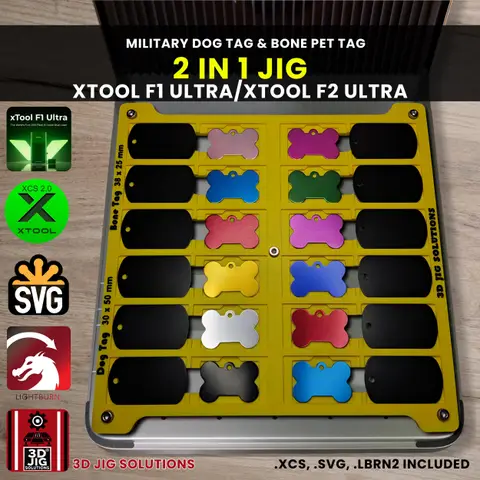
Bigger lasers hold bigger batches. The xTool F1 Ultra and F2 Ultra 2-in-1 jig holds 24 bone pet tags or 24 military dog tags per run.
Choosing tag metals
- Anodized aluminum. Light, cheap and available in lots of colours. The laser removes the coloured coating to show bright metal underneath, so the engraving stands out without any filling.
- Stainless steel. Tougher and longer-lasting, good for active dogs. A fiber laser darkens the surface to make the mark. It costs more per tag, so it suits premium listings.
- Slide-on collar tags. These thread onto the collar instead of hanging from a ring, so there’s no jingle. They’re popular as “silent” tags.
Whatever you choose, buy from one supplier. Tags from different brands can differ by a millimetre, which is enough to make them loose or tight in a jig.
Laying out the text
A pet tag is small, so the layout matters more than the font.
- Keep it short. Pet name on the front. Phone number, and maybe a second number or “I’m microchipped”, on the back.
- Use clear fonts. Simple sans-serif or bold script fonts stay readable at small sizes. Thin decorative fonts can fill in or break up.
- Leave a margin. Keep text clear of the edge and the hanging hole. A tag that is a fraction off-size still looks centred.
- Check the hole. On round and heart tags the hole sits at the top. Make sure your design is the right way up in the template.
Engraving a batch, step by step
- Fit the jig. Drop it into your laser’s baseplate slot or quick-swap adapter. It sits in the same place every time.
- Open the template. Load the XCS project or import the SVG into LightBurn or your laser’s software. Each outline matches a pocket on the jig.
- Add the designs. Put each customer’s name or number in its own outline, then hide or delete the outlines so they don’t engrave.
- Load the tags. One tag per pocket, face up, holes all facing the same way.
- Check the frame. Run your laser’s framing or preview once.
- Test new tags. If it’s a new brand, metal or colour, engrave a spare tag first. Start from your laser’s material settings or the supplier’s advice.
- Engrave. Let metal tags cool before you lift them out.
- Do the backs. For two-sided tags, flip them in the same pockets and run the back design.
Handling custom orders
Pet tags are usually personalised, so every tag in a batch can be different. A few habits keep that manageable:
- Save one project per jig with all the outlines in place. For each batch, just type the new names in.
- Fill the jig with several orders. Engrave five or six customers’ tags in one run instead of one at a time.
- Number the pockets. Note which order is in which pocket so tags don’t get mixed up when you unload.
- Double-check phone numbers. It’s the one detail the customer really needs to be right.
Jigs and sets for your laser
We make pet tag jigs for most popular fiber, UV and galvo lasers, each with a matching template:
- xTool F1 and F2: pet tag jig set with 9 tag shapes, or single jigs in the xTool F1 and F2 section.
- xTool F1 Ultra, F2 Ultra and F2 Ultra UV: pet tag jig set or single jigs.
- WeCreat Lumos: pet tag jig set or single jigs.
- ComMarker: pet tag jig set or single jigs.
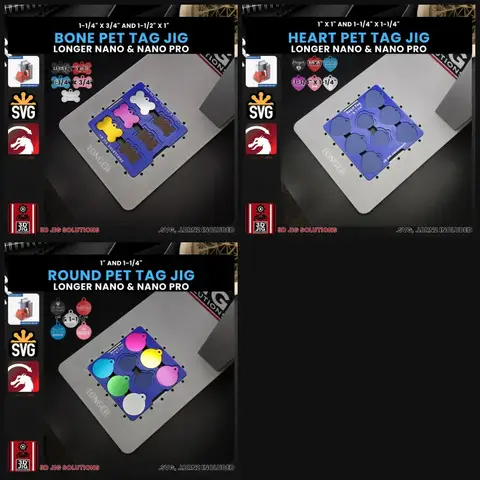
- Longer Nano Pro: pet tag jig set or single jigs.
- Diode and CO2 lasers: 3-in-1 jig for bone pet tags, military dog tags and business cards.
If you also engrave business cards, coasters or pencils, a multi-item jig like the xTool F1 6-in-1 jig covers pet tags and more in one fixture.
Have a tag shape we don’t list? We design custom jigs.
Questions and answers
Which pet tag blanks fit your jigs?
Our round, heart and bone jigs are sized for the standard tags from JDS Industries: 1" and 1-1/4" rounds and hearts, and 1-1/4" x 3/4" and 1-1/2" x 1" bones. Blanks from other suppliers often match these sizes, but measure them first and compare with the sizes on the jig's page.
Can I engrave both sides of a pet tag?
Yes. Engrave the fronts, flip the tags over in the same pockets, and run the back design. Symmetrical shapes like round, bone, heart and military tags fit face down the same way. Check non-symmetrical shapes, such as fish or cat head tags, before taking two-sided orders.
What laser settings should I use for pet tags?
We don't publish settings, because they depend on your laser, lens and the tag metal and coating. Start from your laser's built-in material settings or the blank supplier's advice, and test on a spare tag first.
Can I engrave pet tags with a diode or CO2 laser?
Diode and CO2 lasers can mark anodized aluminum tags by removing the coloured coating, though not as finely as a fiber laser. Our diode and CO2 3-in-1 jig holds 24 bone pet tags per run. For bare stainless steel, a fiber laser is the usual choice.