Custom leatherette patches are a popular laser product: small business logos, team caps, wedding favours, trucker hats. The engraving itself only takes moments. What slows you down is placing each patch, lining up the design, and fixing the ones that came out crooked.
A hat patch jig fixes that. This guide walks through batch engraving patches with a jig, from picking blanks to loading the next batch.
Why leatherette patches suit batch engraving
Laserable leatherette is a two-layer material: a thin top colour over a contrasting base. The laser removes the top layer and the design shows in the base colour, so you get a crisp two-tone result without paint or ink.
Patch blanks come pre-cut in standard shapes and sizes, usually with an adhesive backing. That consistency is what makes them ideal for a jig: every blank in a pack is the same size, so every one drops into the same pocket and lines up with the same template.
Choose your shapes and sizes
Most patch orders use a handful of standard shapes. These are the sizes our jigs hold:
| Shape | Sizes |
|---|---|
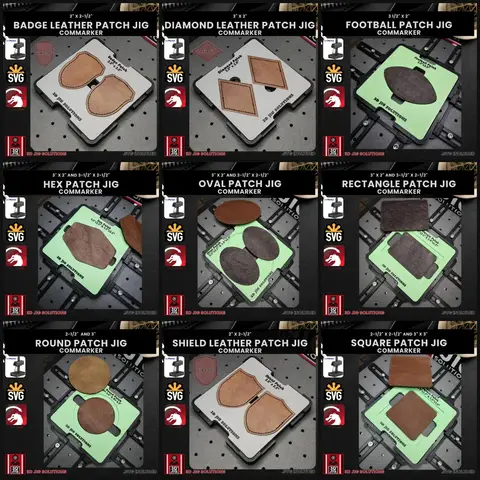
| Rectangle | 3” x 2” and 3-1/2” x 2-1/2” |
| Oval | 3” x 2” and 3-1/2” x 2-1/2” |
| Hex | 3” x 2”, 3” x 2-1/2” and 3-1/2” x 2-1/2” |
| Round | 2-1/2” and 3” |
| Square | 2-1/2” x 2-1/2” and 3” x 3” |
| Diamond | 3” x 2” |
| Football | 3-1/2” x 2” |
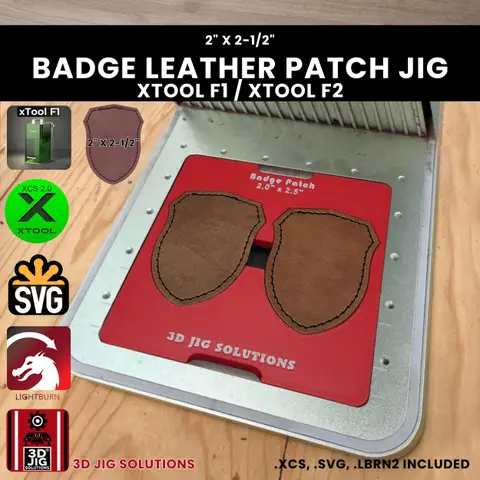
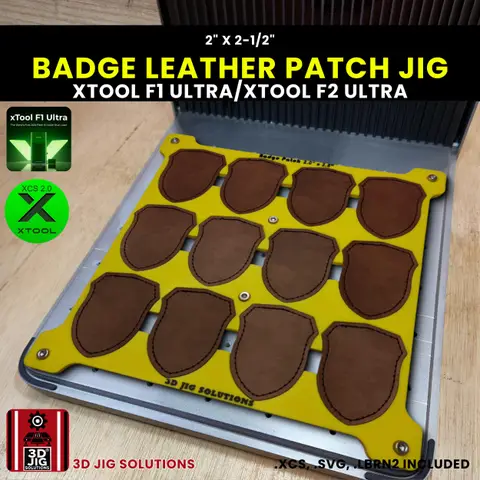
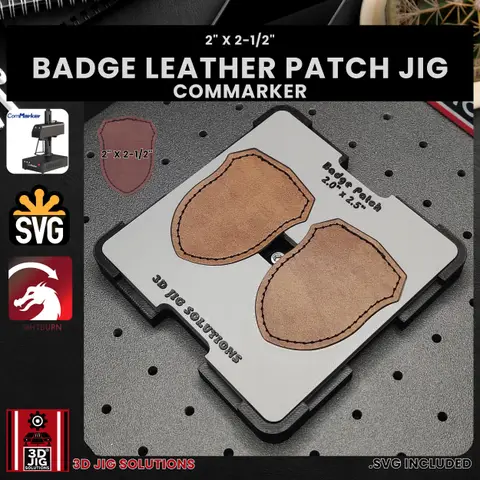
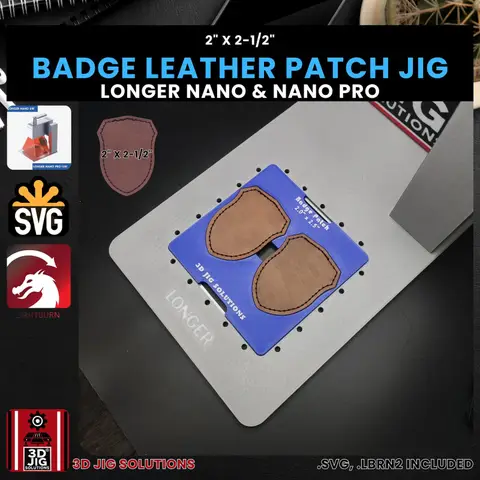
| Badge | 2” x 2-1/2” |
| Shield | 2” x 2-1/2” |
Shapes and sizes vary slightly by laser, so check the jig’s own page for your machine. If you’re just starting, pick the one or two shapes you plan to offer and add more as orders come in.
Measure your blanks. Patches from different suppliers can differ by a millimetre or two. Measure a few with calipers before you order a jig, and buy from one supplier so every pack fits the same way.
Setting up the jig and template
You only need to do this once per jig.
- Fit the jig. Drop it into your laser’s baseplate slot or quick-swap adapter. It sits in the same place every time, which is what keeps the template lined up.
- Open the template. Load the XCS project in xTool Creative Space, or import the SVG into LightBurn or your laser’s software. The outlines match the pockets on the jig.
- Place your design. Put a copy of the customer’s logo or text inside each outline you’ll use.
- Hide the outlines. Delete or turn off the outline layer so it doesn’t engrave.
- Save the project. Name it by shape and size, for example “Hex 3x2.5 patches”. Next time, you just swap the artwork.
Engraving a batch
- Load the patches. Put a blank in each pocket, top colour up. Press each one flat so the edges sit down in the pocket.
- Check the frame. Run your laser’s framing or preview once to confirm the design is inside every patch.
- Test new material. If it’s a new brand or colour of leatherette, engrave a spare patch first. Start from your laser’s built-in material settings or the supplier’s recommendations, and adjust until the top layer clears cleanly without burning into the base.
- Engrave. Run the job on the full jig.
- Clean up. Lift the patches out and gently wipe off any residue left in the engraving.
- Reload. Drop in the next set of blanks and start again. No re-aligning needed.
Common mistakes to avoid
- Patches not sitting flat. A curled or lifted edge changes the focus height and can leave a patchy result. Press each blank down fully before you start.
- Design touching the edge. Leave a small margin inside the outline. Engraving right up to the cut edge can look uneven if a patch is a fraction off-size.
- Mixing suppliers in one batch. Different brands can vary in size and in how they respond to the laser. Keep each batch to one brand.
- Engraving the outlines. If you forget to hide the template outlines, the laser traces them on your patches and on the jig.
- Skipping the test patch. One spare patch costs less than a ruined batch.
Applying patches to hats
Most laserable leatherette patches have a heat-activated adhesive backing. Apply them with a heat press or a hat press, following the time and temperature on your blank supplier’s instructions. For hats that will see heavy wear, many makers stitch around the patch as well.
Engrave and check the patches before you press them. A finished patch is much easier to replace than a hat.
Which jig fits your laser
We make hat patch jigs for most popular fiber, UV and galvo lasers, each with a matching template:
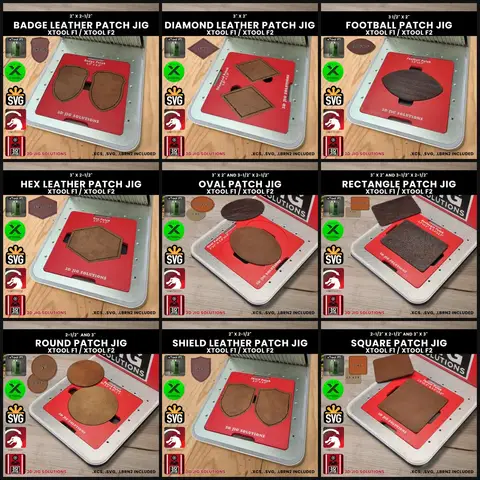
- xTool F1 and F2: 9-shape hat patch set, or each shape on its own in the xTool F1 and F2 section.
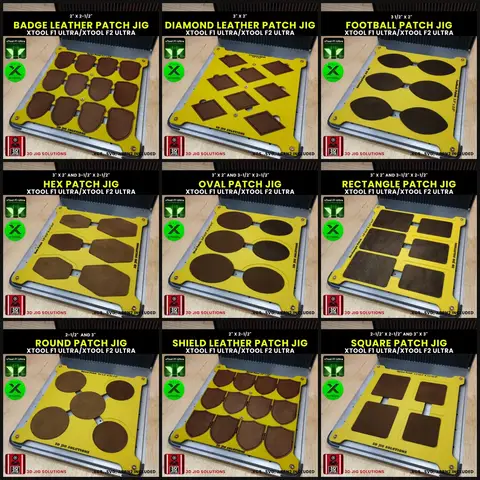
- xTool F1 Ultra, F2 Ultra and F2 Ultra UV: 9-shape set or single jigs.
- ComMarker fiber, UV and galvo lasers: 9-shape set or single jigs.
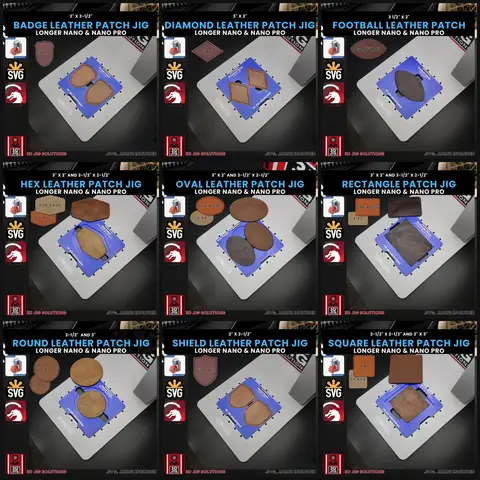
- Longer Nano Pro: 9-shape set or single jigs.
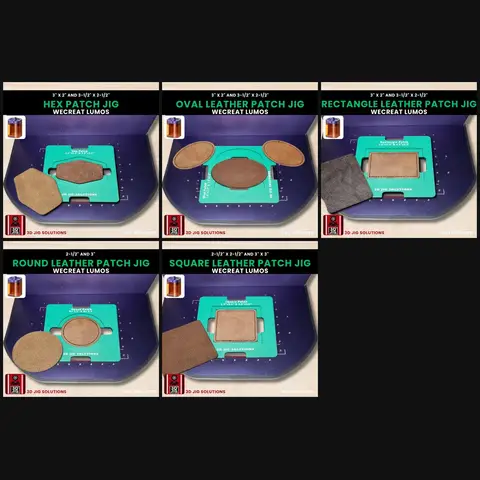
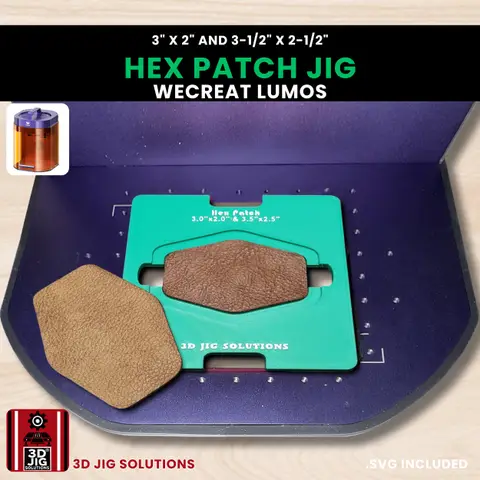
- WeCreat Lumos: 5-shape set or single jigs.
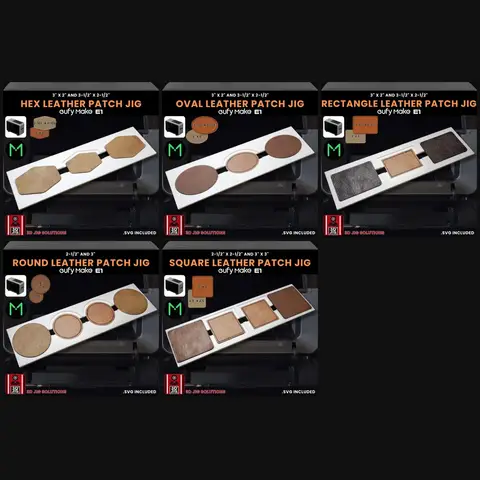
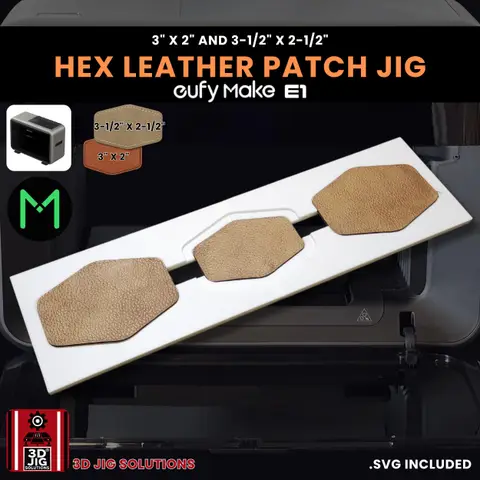
- EufyMake E1 UV printer: 5-shape set for printing full-colour designs on patches instead of engraving them.
Need a patch shape or size we don’t list? We design custom jigs.
Questions and answers
What size hat patch is most popular?
For caps, 3" x 2" and 3-1/2" x 2-1/2" are the most common sizes for rectangle, oval and hex patches. Round and square patches usually come in 2-1/2" and 3". Many of our jigs hold two sizes, so you can offer both.
Can I engrave real leather patches in the same jig?
Our patch jigs are made for laserable leatherette blanks. Real leather patches can be thicker or cut to slightly different sizes, so measure them first and compare with the sizes on the jig's page. If they don't match, ask us about a custom jig.
What laser settings should I use for leatherette patches?
Settings depend on your laser, lens and the brand of leatherette, so we don't publish numbers. Start from your laser's built-in material settings or the blank supplier's recommendations, and run a test on a spare patch before the real batch.
Do I need a jig set, or just one jig?
If you only sell one shape, one jig is enough. If you offer customers a choice of shapes, a hat patch jig set gives you every shape we make for your laser at 15% less than buying the jigs one by one.