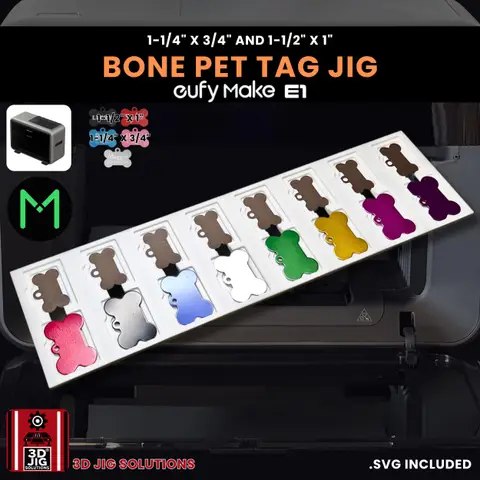
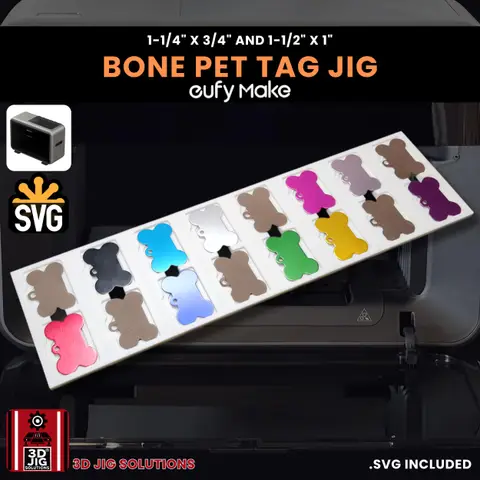
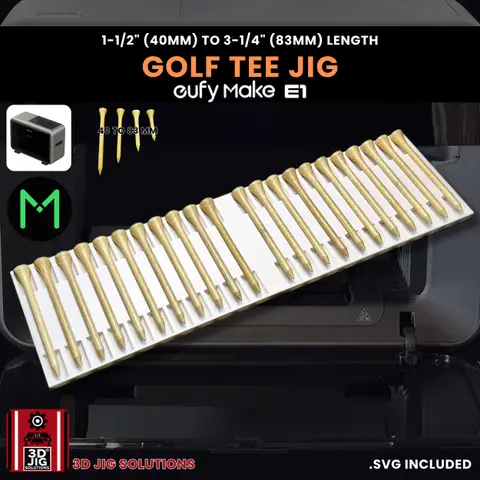
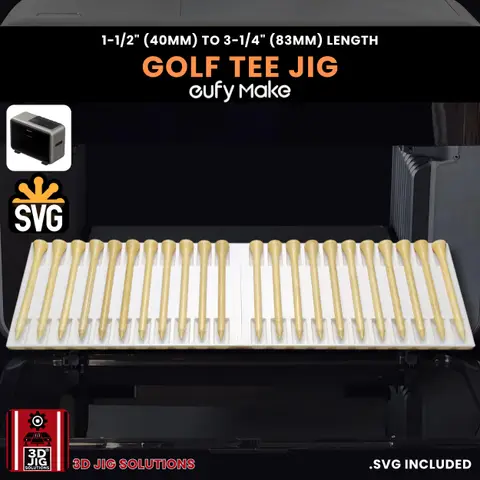
The EufyMake E1 makes full-colour UV printing, including raised 3D texture, affordable for small businesses. It’s great for personalised products: pet tags, golf tees, keychains, magnets and business cards.
But the E1’s normal workflow photographs the bed and locates each item before every print. That’s convenient for one-offs and slow for batches. The fix is a jig combined with the E1’s zero point method.
Why use a jig on the E1
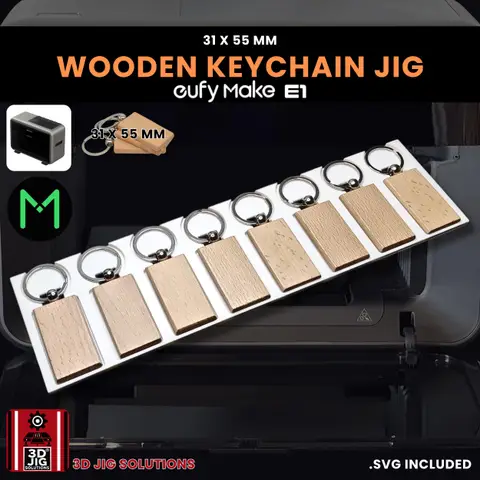
- More pieces per print. Our jigs pack blanks in tight rows: 16 bone pet tags, 22 golf tees or 10 bamboo keychains per set.
- Nothing moves. Small, light and round items stay put while the print head passes.
- Everything sits level. Each blank sits at the same height and angle, so the print is consistent across the batch.
- It makes zero point possible. Zero point only works if every blank is in a known, fixed spot. That’s exactly what a jig provides.
What is the zero point method?
In zero point mode the E1 prints at fixed coordinates measured from a calibrated corner of the bed, instead of taking a photo and finding each item.
You calibrate the zero point once. The E1 marks it on the bed, and from then on anything you place against that corner is at a known position. Put a jig there, and every slot in the jig is at a known position too.
Why it’s faster: skipping the photo and alignment step saves time on every print. The bigger the bed, the more time you save.
Why it’s more consistent: the design lands in exactly the same place on every batch, as long as the jig sits against the mark.
Setting up a jig for zero point
You do this once per jig.
- Calibrate the zero point. Follow EufyMake’s instructions to set the zero point on your bed or mat.
- Place the jig at the mark. Push the jig (or the first set, on the large bed) firmly into the zero point corner.
- Build the layout. In EufyMake Studio, set up the jig layout with the position of each slot. Put your design in one slot, then fill the rest. EufyMake’s software has a batch fill feature for this.
- Test print. Print once on a spare blank or on paper laid over the jig, and check the alignment.
- Fine-tune and save. If everything is shifted by the same amount, nudge the layout and print again. Save the project once it’s right.
Printing a batch
- Load the blanks. One per slot, clean and seated fully, print side up.
- Seat the jig against the zero point. Make sure it’s pushed into the corner.
- Open your saved layout and swap in the new artwork.
- Print in zero point mode.
- Unload, reload, repeat. Fresh blanks go in the same slots; the layout doesn’t change.
Small bed or large bed
Our E1 jigs are modular:
- 1 set fits the small bed.
- 2, 3 or 4 sets fill the large bed.
- Mix and match. Sets of different jigs can share the large bed, for example pet tags next to keychains.
On the large bed, keep the sets tight together and against the zero point corner so their positions stay fixed from one batch to the next.
What you can batch print on the E1
| Item | Per set |
|---|---|
| Bone pet tags (1-1/4” x 3/4” or 1-1/2” x 1”) | 16 |
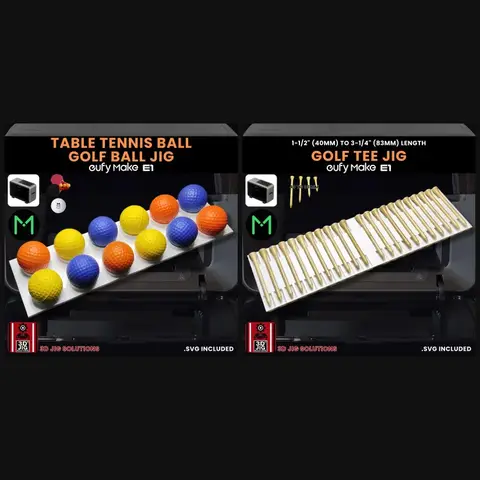
| Golf tees, 40 to 83 mm | 22 |
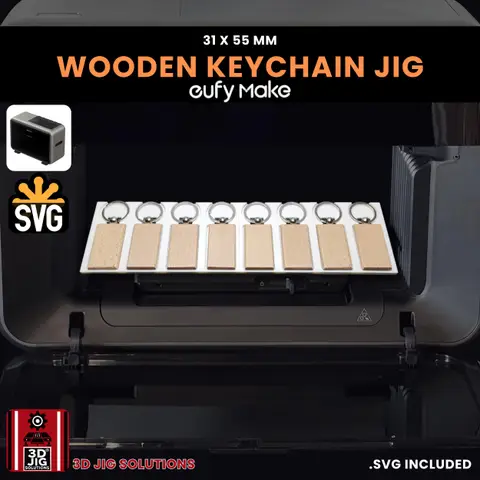
| Rectangle bamboo keychains, 31 x 55 mm | 10 |
| Keychain bottle openers, 65 x 12 mm | 10 |
| Oval bamboo keychains, 31 x 48 mm | 8 |
| Round bamboo keychains, 40 mm | 6 |
| Wood handle bottle openers | 6 |
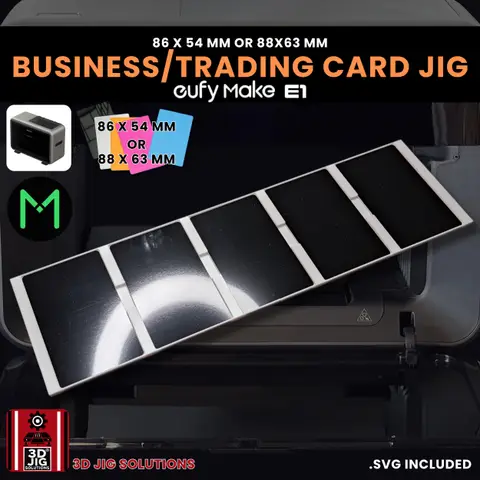
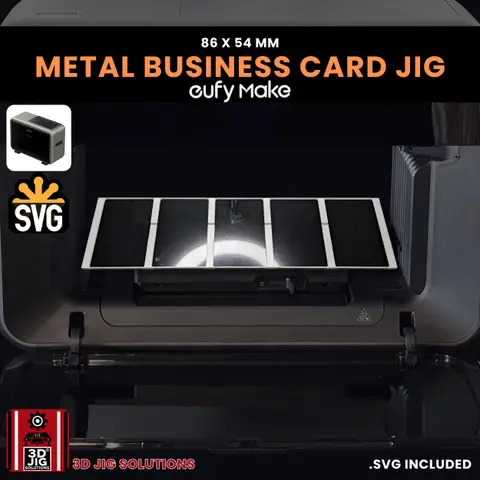
| Metal business cards, 86 x 54 mm | 5 |
| Rectangle, round and square ceramic magnets | 5 |
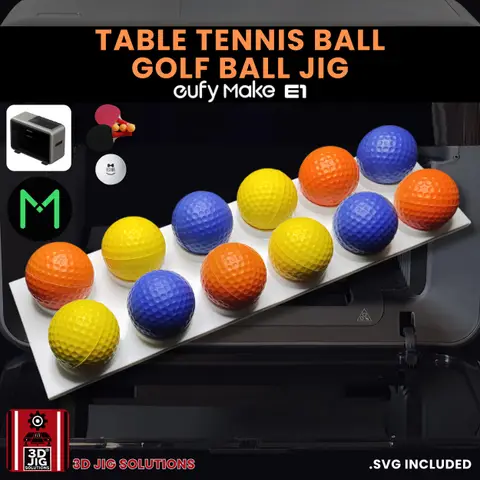
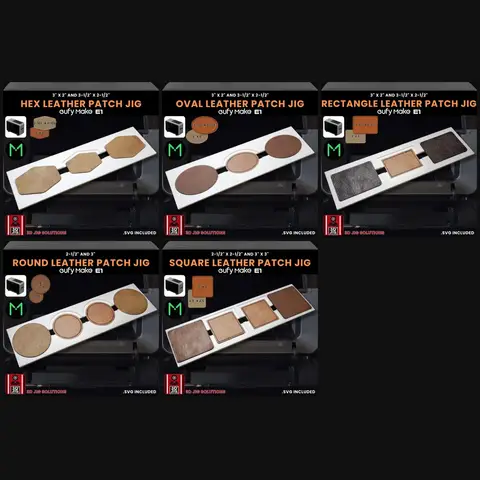
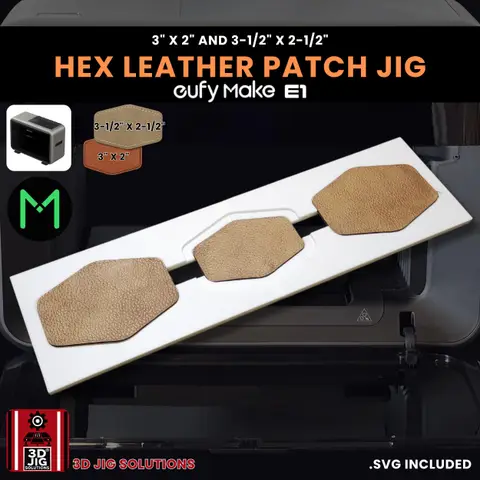
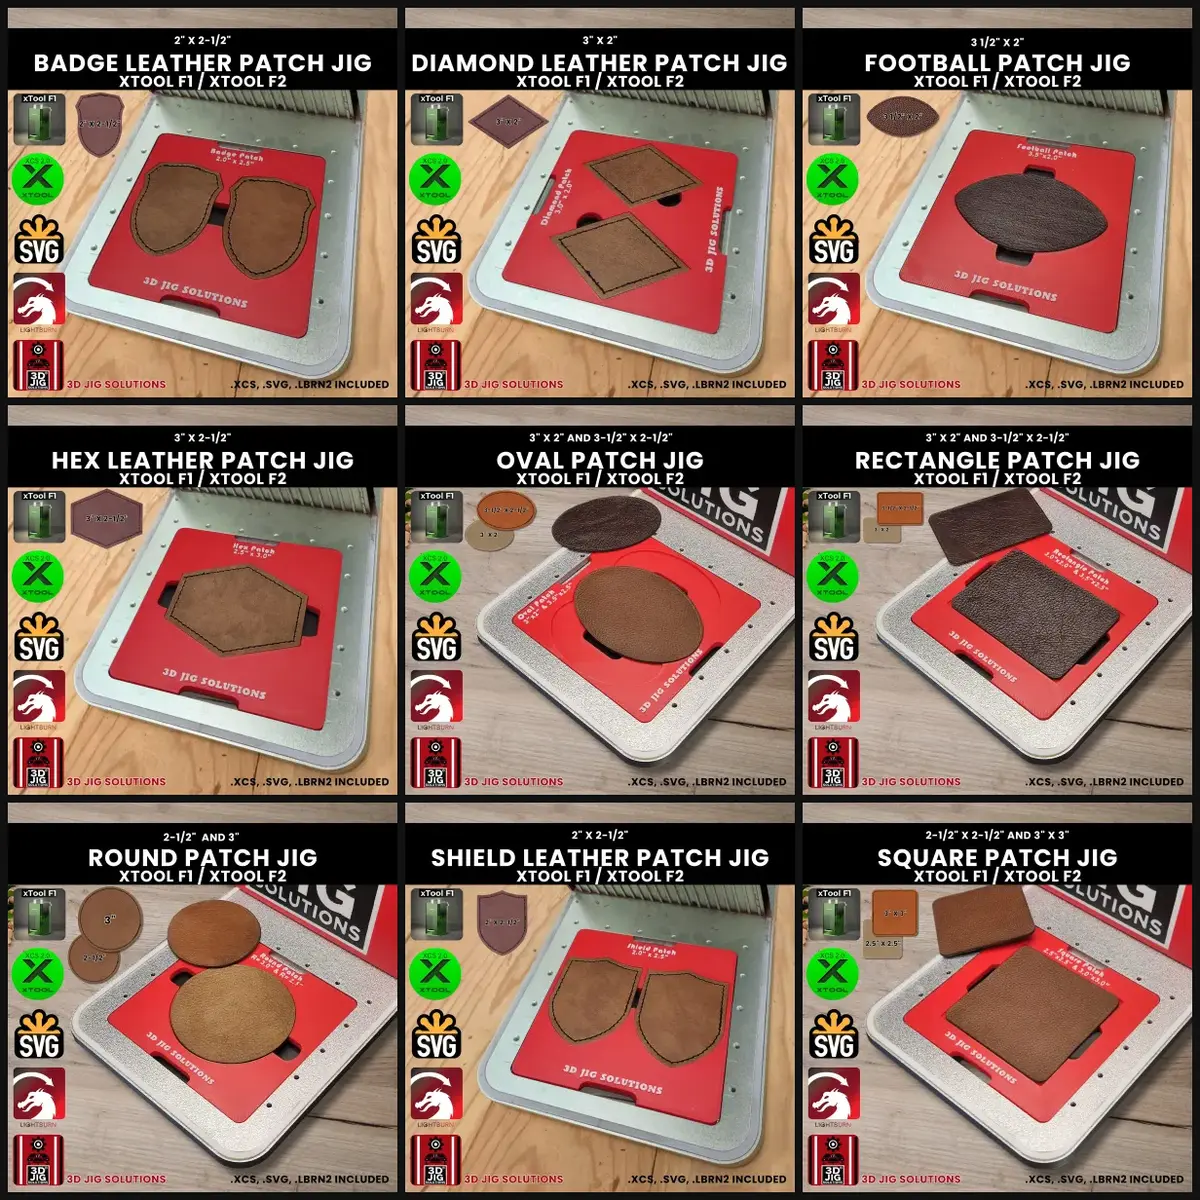
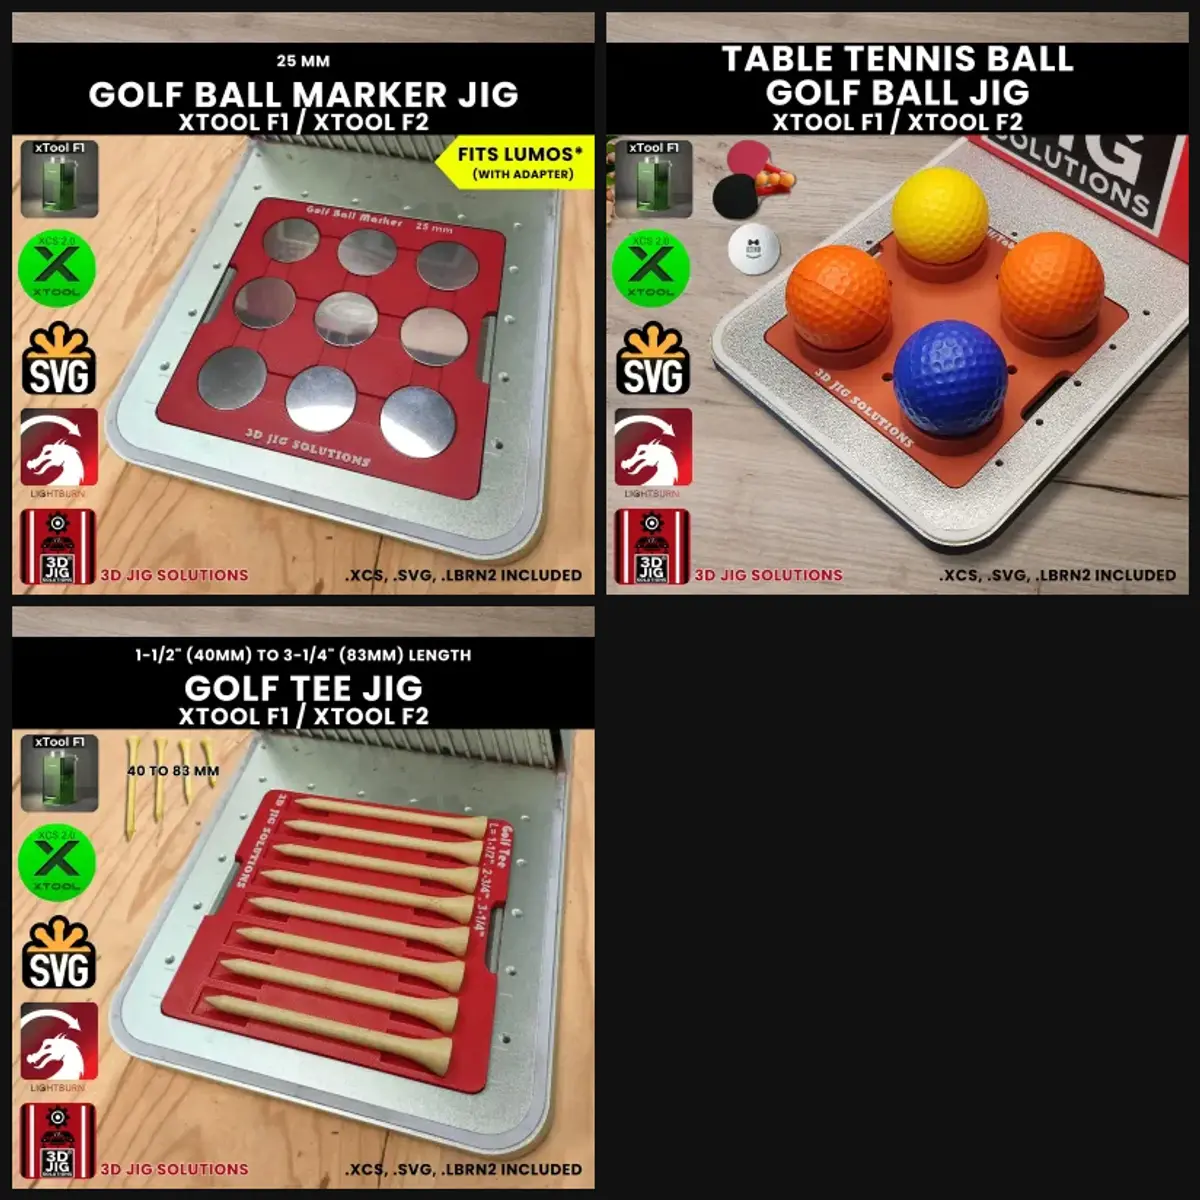
We also make E1 jigs for golf balls, baseballs, hockey pucks, pens, pencils, carpenter pencils, coins, metal wallets, military dog tags, guitar picks, lighters, slate coasters, wine corks and hat patches. See them all in our EufyMake E1 section.
Sets save 15%: the E1 golf jig set (balls and tees) and the E1 hat patch jig set (5 patch shapes).
Tips for better results
- Check the zero point now and then. If the mat or bed gets moved, recheck the mark before a big batch.
- Leave a margin. Keep designs slightly inside each blank so ink doesn’t land on the jig.
- Use consistent blanks. Buy from one supplier so every blank fits the slots the same way.
- Prepare new materials. Follow EufyMake’s advice on cleaning, primer or adhesion promoter for each material, and test first.
- Keep one saved project per jig. Name it by jig and set count, such as “Bone tags, 2 sets”. Repeat orders take seconds.
Have a blank we don’t cover? We design custom jigs for the E1 too.
Questions and answers
What is zero point mode on the EufyMake E1?
Zero point mode prints at fixed coordinates measured from a calibrated corner of the bed, instead of photographing the bed and finding each item. With a jig placed at that corner, every blank is at a known position, so the E1 can skip the camera step and print the batch straight away.
How many jig sets do I need for the E1?
One set fits the E1 small bed. For the large bed, choose 2, 3 or 4 sets. You can mix sets of different jigs on the large bed.
Do I have to use zero point mode with your jigs?
No. The jigs also work with the E1's normal camera positioning. Zero point is just faster once you print the same jig regularly.
My prints are slightly off in zero point mode. What should I check?
Check that the jig is pushed fully against your zero point mark, that the mat hasn't shifted, and that the blanks are seated in their slots. If everything is offset by the same amount, adjust the position in your saved layout once and it will stay correct.